Eggleston Hall Gardens Journal

How to Sow Seeds of Hardy Plants.
 Grit and Perlite; A 50-50 mix for topping.
 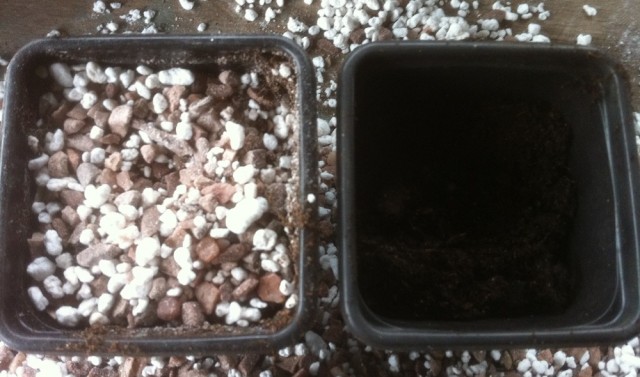 Pot (left) prepared and ready for sowing of small primula seed.
 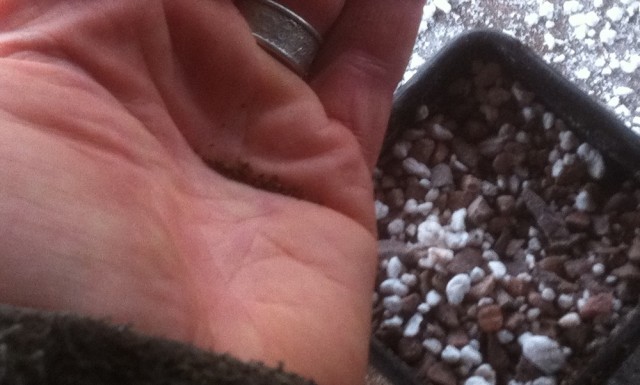 Using your crack (in hand) to sow evenly and thinly.
 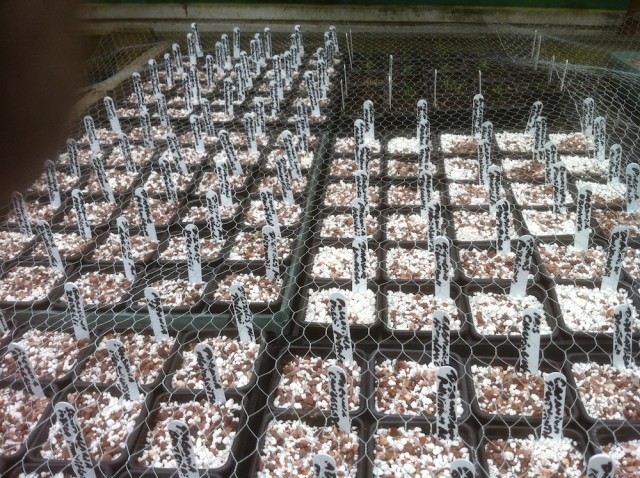 Sown, named, dated, watered, and ready to go.
 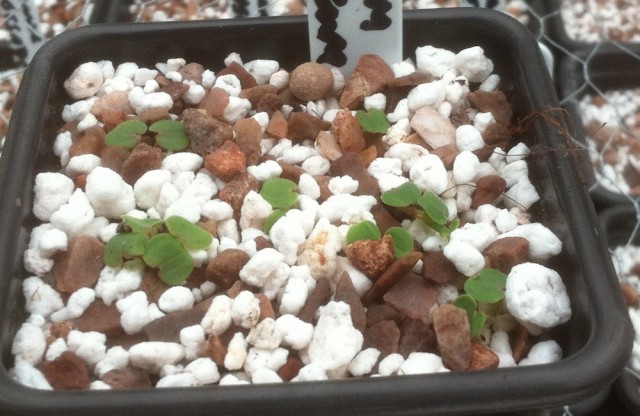 Signs of Life; Grit gives weight, Perlite holds moisture.
 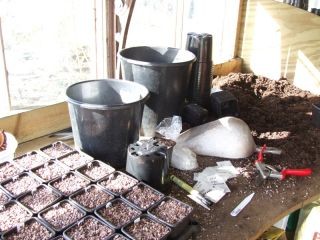 All you need for a good week of seed sowing
 My system for sowing has remained the same for over forty two years, some of the equipment has changed or been adapted but the method and essence of reliable sowing for me remains unchanged. Some will disagree, I don't much care, for the hardy plants I grow it works well and I see little merit in change for changes sake.
Forget electric propagators, temperatures of 65 or 75 degrees etc as you see on some packets, I have no problem even with delphiniums at lower temperatures, forget also all the shite about storing in a fridge, temping up to 65 degrees then back to the fridge and so on. Total balls; there are no electric propagators or refrigerators in nature as far as I am aware. Apply one strategy above all others; Patience! And let nature do the rest. For plants that need a period of cold to break their dormancy I sow them in Jan/Feb in a cold frame or sheltered position outside and leave them to it. For those in need of a double period I do the same and leave them in position for a year longer...simple. If you can't be bothered to wait then go and buy a plant or go through the entire ridiculous palaver of Tupperware tubs in freezers if you wish, but there are so many other things one could be doing than piddling about with all that.
I use small 7cm square plastic pots filled above the brim then leveled off with a good reputable compost (the choice is yours but I never use seed and cutting for anything, especially seeds or cuttings), don't press down, just tap the pot on the bench a few times to settle the compost about 1cm below the rim, technically this is called 'tamping'. Sprinkle your seeds on the surface, and then cover with a thin layer of "topping"...a 50-50 mixture of horticultural grit and perlite or vermiculite. Place outside or in a frame as already mentioned having given them a good watering. Use your intelligence as far as depth of "topping" goes, only a very thin layer for small seed, larger seed can be 'ploughed' into the compost surface with your finger before a deeper layer of grit is added, some small seeds can be sown directly onto the topping, allowing the water to wash the seeds down between the particles, ideal for Meconopsis and Primulas.
INCIDENTALLY; I use the topping mix for ALL cuttings, winter, summer, or autumn. I haven't used a cuttings compost in four decades. Topping almost totally eradicates damping off, and pots of seedlings rarely suffer from skanky arsed alga or liverwort.
Looking at the images you will see some finished pots with small white labels in. These labels do not protrude too far above the pot because I need to lay a sheet of small meshed wire over my pots to thwart mice and voles, I never seem able to catch all the little bastards and they could graze that lot off in a matter of minutes. You need to label with information of what's in the pot AND THE DATE SOWN. Remember that some seed can take several years to germinate, especially the peony family. In the final image are secateures, labels, pens, pots, etc, all you need for a good three days sowing....Just wait till the pricking out begins, nimble fingers and strong neck muscles required.
If you would like to know more on propagation I would recommend two books above all others. 'The propagator's Handbook' and "Creative Propagation" both by Peter Thompson. They are first class and much better written than anything I can do here. Seed sowing is therapeutic inasmuch as the natural desire within us to create something is nourished, also our sense of anticipation is heightened and above all else hope and life springs from the natural elements you have gathered together in that small pot. Children rarely hide their emotions or sense of wonderment and excitement, watching them in a task like this is quite enlightening, and involving them in seed sowing is one of the finest lessons you can ever teach or share with them.....but rather you than me as I can't stand the snotty little sods.
Videos

Recent Journal Entries
- How to sow seeds of Hardy Plants (uncut/unedited version)30th May, 2013
- The Dilemma; An assessment of risk30th May, 2013
- How to prune Raspberries18th March, 2013
- Lords, Ladies & Childhood Worms!18th March, 2013
- One in a 234....A lovely double yellow Hellebore13th March, 2013